C++ SDL Image Install
This guide will provide step-by-step instructions on how to add the Image library to the Simple DirectMedia Layer (SDL) library in a Visual Studio C++ project.
Download SDL Image
- Download the SDL_image library.
- https://github.com/libsdl-org/SDL_image/releases
- Download the latest release.
SDL3_image-devel-3.2.4-VC.zip

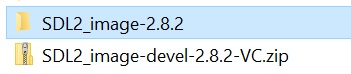
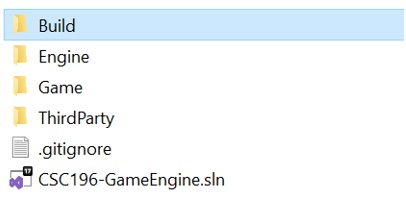
- Copy the .zip to the Source/ThirdParty foler.
- Unzip the downloaded .zip file.
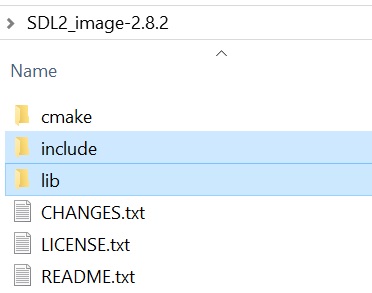
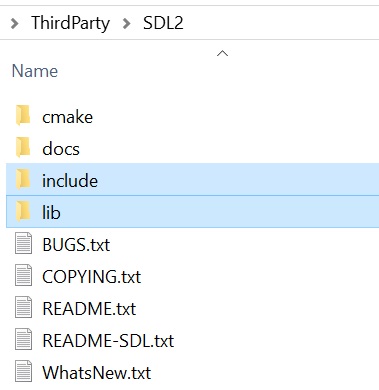
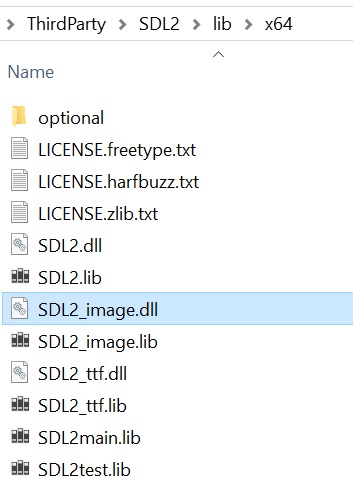
- Copy the SDL3 Image include and lib directory to the ThirdParty/SDL3 folder.
- This will add the SDL3 Image files to SDL3.
Add SDL Image to the Solution Project(s)
The SDL3 library should’ve already been setup with the include directories and library directories for the projects in a previous tutorial, the only step necessary is to add the SDL3_Image library (.lib) to the Game project properties.
If the Solution contains multiple Projects, the following steps will need to be done for each project. This is because each project needs the path to the SDL3 Image includes.
Add SDL Image Library
The sdl3_image.lib only needs to be added to the project that is the application (Game). Do not add it to the library project (Engine). If it is added to both, there will be a warning reported when built.
- Open the Project Properties that SDL libray will be added to (Game).
- Right-click the Game Project and select Properties.


In Project Properties, ensure Configuration is set to All Configurations and Platform is set to All Platforms.

- Add the SDL library directory in Project Properties (Librarian > General or Linker > Input) to the Additional Library Directories:
$(SolutionDir)Source\ThirdParty\SDL3\lib\$(PlatformTarget)
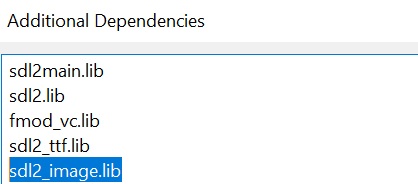
- Add the SDL3_Image.lib file.
- Additional Dependencies is located in Linker>Input.
- Add
sdl3_image.lib
1
sdl3_image.lib
Add SDL Image Dynamic Link Library (dll)
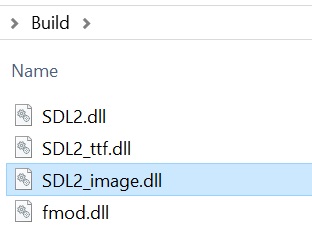
- Create a folder in the Solution directory called “Build”
- This step may have already been completed earlier.
- The Build folder will contain the SDL Image dll (dynamic link library) files.
- Copy the sdl3_image.dll file from the ThirdParty\sdl3\lib\x64 directory to the Build folder.
- The project is a x64 project (64-bit application).
If SDL3 Image was properly added, building and running the project will result in no errors.
Add Images to the Build
- Find an image to use in the program.
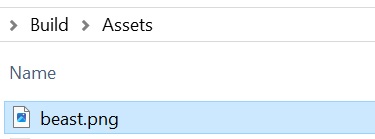
- Place the .bmp, .jpg, or .png images into the Build folder.
- Assets are now placed in the Assets folder inside the Build folder.
Update Code for SDL Images
Add Image header (.h) to the Renderer
- In the Renderer.h header, include the SDL Image header.
1
#include <SDL3_image/SDL_image.h>
Initialize and Shutdown SDL Image
- The SDL Image is initialized and shutdown as part of SDL3. There is no additional code here.
Create Texture Class
- Create Texture.h file in the Source/Renderer directory.
- Make sure to add the neccessary #include or forward declarations.
- Place the class declaration inside the namespace.
- If doing a forward declaration on SDL_Texture, use struct instead of class as SDL_Texture is a struct.
1
2
3
4
5
6
7
8
9
10
11
12
13
14
15
class Texture
{
public:
	Texture() = default;
	~Texture();

	bool Load(const std::string& filename, class Renderer& renderer);

	vec2 GetSize();

	friend class Renderer;

private:
	struct SDL_Texture* m_texture{ nullptr };
};
- Create Texture.cpp file
- Texture will need to be a friend class of Renderer so it can access the Renderer private data m_renderer
- You will need to add the neccessary #include
1
2
3
4
5
6
7
8
9
10
11
12
13
14
15
16
17
18
19
20
21
22
23
24
25
26
27
28
29
30
31
32
33
34
35
36
Texture::~Texture()
{
    // if texture exists, destroy texture
    if (...texture is not null...) SDL_DestroyTexture(m_texture);
}

bool Texture::Load(const std::string& filename, Renderer& renderer)
{
    // load image onto surface
    SDL_Surface* surface = IMG_Load(...get the c-string of filename...);
    if (...surface is null...)
    {
        std::cerr << "Could not load image: " << filename << std::endl;
        return false;
    }

    // create texture from surface, texture is a friend class of renderer
    m_texture = SDL_CreateTextureFromSurface(...look at parameters of function...);
    // once texture is created, surface can be freed up
    SDL_DestroySurface(surface);
    if (...m_texture is null...)
    {
        std::cerr << "Could not create texture: " << filename << std::endl;
        return false;
    }

    return true;
}

vec2 Texture::GetSize()
{
    float w, h;
    // https://wiki.libsdl.org/SDL3/SDL_GetTextureSize

    return ...vec2 with w and h...;
}
Add Draw Texture to Renderer Class
- In the Renderer.h
- Make Texture a friend class of the Renderer
- Add a DrawTexture() function declaration
1
2
friend class Texture;
void DrawTexture(...forward declaration... Texture* texture, float x, float y);
- In the Renderer.cpp
- Include the Texture.h
- Required since a forward declaration was used in the Renderer.h
- Add DrawTexture() function
- Include the Texture.h
1
2
3
4
5
6
7
8
9
10
11
12
13
void Renderer::DrawTexture(Texture* texture, float x, float y)
{
	vec2 size = ...get texture size...

	SDL_FRect destRect;
	destRect.x = x;
	destRect.y = y;
	destRect.w = ...size x...;
	destRect.h = ...size y...;

	// https://wiki.libsdl.org/SDL3/SDL_RenderTexture
  SDL_RenderTexture(m_renderer, texture->m_texture, NULL, &destRect);
}
Draw Texture in Main
- In main() create a Texture before the while loop
1
2
3
// create texture, using shared_ptr so texture can be shared
std::shared_ptr<Texture> texture = std::make_shared<Texture>();
texture->Load(...texture filename... , ...renderer from engine...);
- Draw the texture between the renderer Clear and Present.
1
GetEngine().GetRenderer().DrawTexture(...get() texture pointer..., 30, 30);
Build and run the program and the image will show up on the screen at the set location.