Visual Studio Install

This guide will show you how to install the latest version of Visual Studio using the Neumont Software website.
About Visual Studio
Visual Studio is an IDE developed by Microsoft to create a variety of applications using different language and SDK. An IDE, or Integrated Development Environment, enables programmers to consolidate the different aspects of writing a computer program. IDEs increase programmer productivity by combining common activities of writing software into a single application: editing source code, building executables, and debugging.
Install Visual Studio
- Go to https://my.neumont.edu
- Login using your school credentials
- Click on Software

- Click on Azure Education Hub

- Sign-In to the Azure Account
- This will be your student email and password


Verification through an authenticator app may be required.
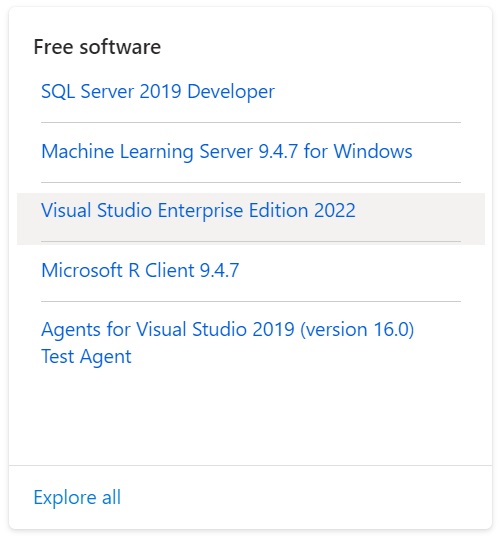
- Select Visual Studio Enterprise Edition

- Download Visual Studio Enterprise Edition
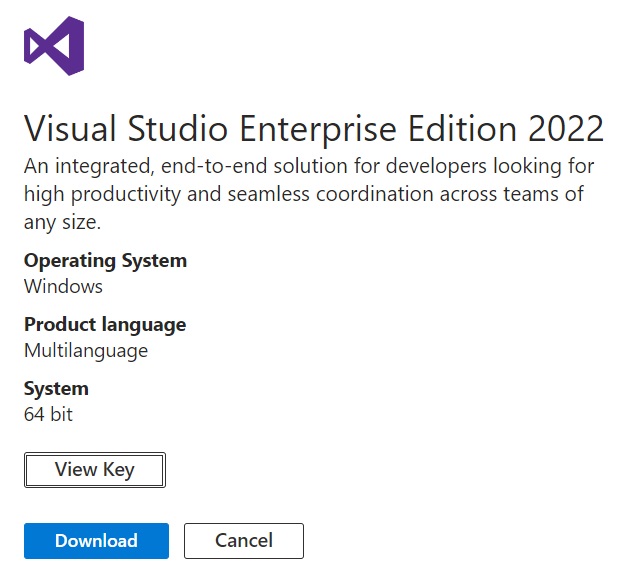
- The Visual Studion Enterprise Edition will require a key
- Click View Key and save the key
- The key will be used to register Visual Studio once installed

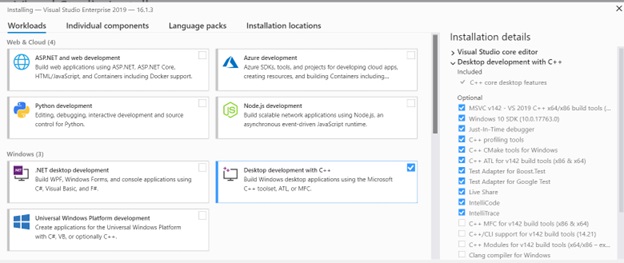
- Install Visual Studio from the downloaded .exe

It may ask if you want to add any components, select Desktop development with C++.
Update Visual Studio
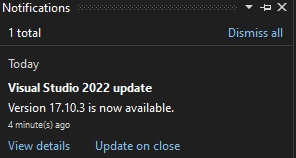
If Visual Studio is already installed, you may need to update it.
- Check for the Notification icon at the bottom right of Visual Studio

- If shown, click to show notifications and update Visual Studio if needed
Create Visual Studio C++ Application
- Run Visual Studio from the Start Menu
- Type “Visual Studio” in the Start Bar

Right-click on it and select Pin to taskbar for quick access.

- Select Create a new project

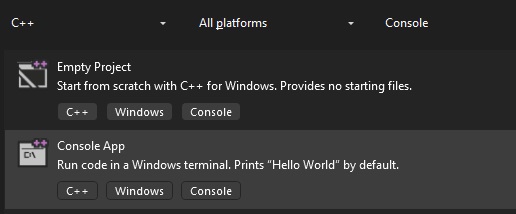
- Create a new Console App project
- Select C++ for Languages
- Select Console for Project Types
- Select Console App
- Press Next
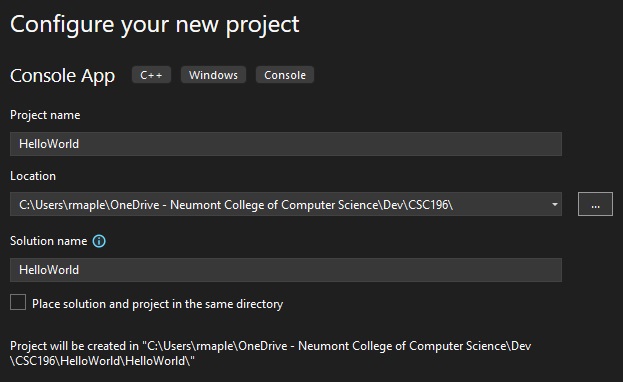
For applications with multiple projects, place the Project in a different folder than the Solution.
Uncheck the Place solution and project in the same directory checkbox
- Configure your new project
- Set the Project name name to “HelloWorld” (or whatever name desired)
- Set the Location for the project
- Press Create
- The project will be created with a “HelloWorld.cpp” source file
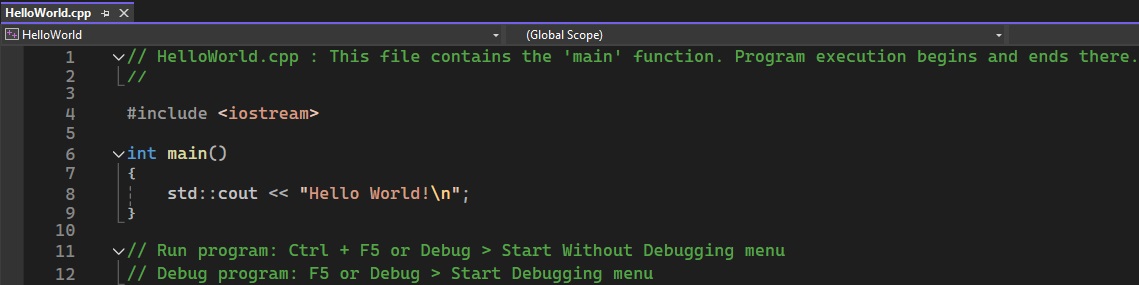
- Press F5 to run the program
