GitHub Repository (Console)
This guide will walk you through creating a Git repository and hosting it remotely on GitHub. You will learn how to make the initial commit and push your changes to the repository. The instructions will demonstrate how to use Git via the command line prompt.
Create Repository
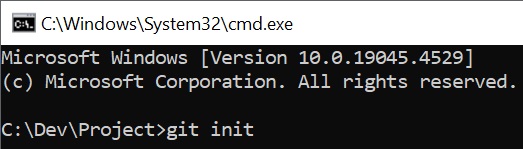
- Open a command prompt in the directory that you want to place under source conrol.
- Use the
git initcommand to initialize a Git repository in the directory.1
git init
A .gitignore file serves to exclude specific files and directories from being tracked in Git. It allows the exclusion of files that are temporary or only required during project builds, ensuring they are not included in the repository’s history.
- Download the VisualStudio.ignore file
- https://github.com/github/gitignore
- Click the VisualStudio.ignore

- Click the download icon to download the file
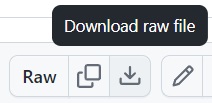
- Copy the downloaded file to the project directory
- Remove the “VisualStudio” part of the filename so the filename is
.gitignore
- Remove the “VisualStudio” part of the filename so the filename is

- Add the files to Git using the
git add .command1
git add .

Individual files can be added using
git add <filename>
All files can be added usingget add .
- There will be warnings about the line ending of the files
- Different operating systems using different types of line endings
- Windows uses CRLF (Carriage Return Line Feed) and Unix uses LF (Line Feed)
- To disable the warnings, use the
git config core.autocrlf truecommand1
git config core.autocrlf true

- Commit the changes using the git command
commit -m <message>” - For the first commit, it will look like
git commit -m “Initial commit”1
git commit -m “Initial commit”

About GitHub
GitHub is a web-based platform used for version control and collaboration on software development projects, primarily using Git. It allows developers to track changes to their code, work on projects simultaneously, and manage different versions or branches of their work. GitHub also serves as a repository hosting service, enabling teams to store, share, and review code while maintaining a history of contributions.
The following steps assumes that you have a GitHub page already setup. If you do not have a GitHub account, proceed to the GitHub signup page and create an account: https://github.com/
The default branch name of your GitHub repository may be “master” or “main”. Originally, the base branch was called “master” but has now been updated to “main”. You can set the default branch name with the following steps. It’s important to know what the default branch name when using it.
Set Default Branch Name
- Open you GitHub page
- Navigate to the Settings at the top right.
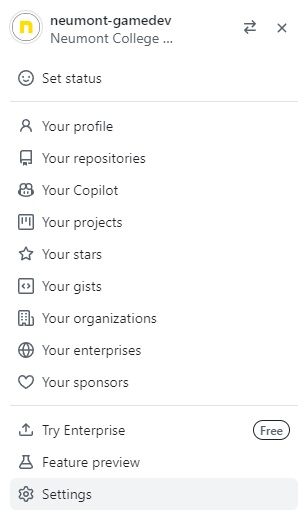
- Select Repositories
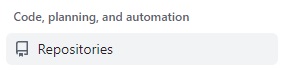
- Set the default branch name to “master” or “main”
- This will be the default branch name for all repositories created

Create Remote Repository
A Git remote repository is hosted on a server, allowing developers to store, share, and collaborate on code. It acts as a central hub where contributors can push local changes and pull updates regardless of their location. Popular platforms for hosting include GitHub, GitLab, and Bitbucket.
- Open your GitHub repositories page

- Click Repositories
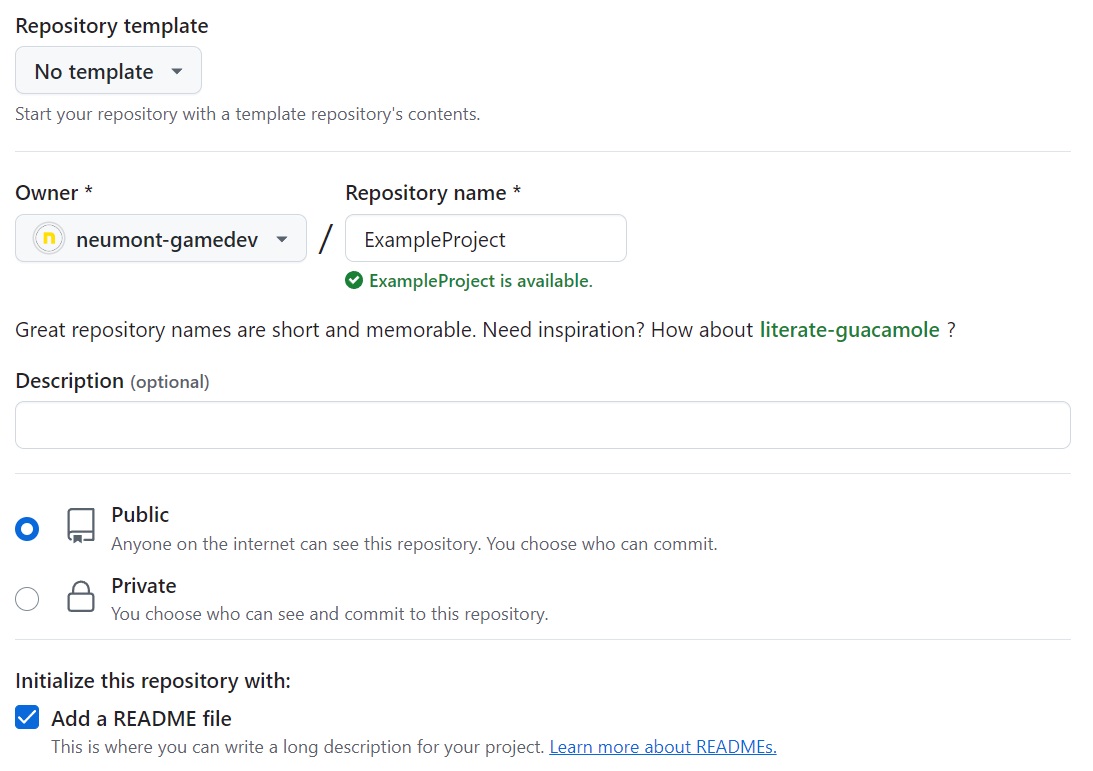
- Click New to create a new repository.

- Type the name of the repository
- Add a README file (optional)
- Click Create repository
- Copy the HTTPS URL for the new repository.
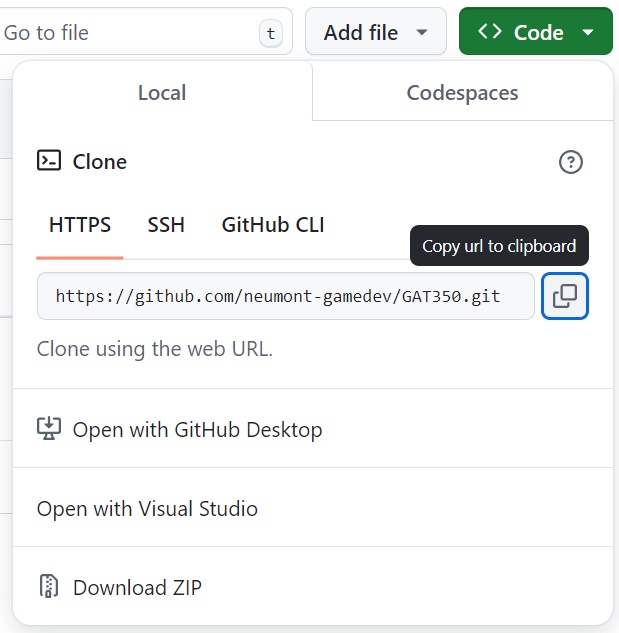
- To upload the Git repository to the remote repository (GitHub), use the command
git remote add origin <url>.git - Use the copied HTTPS URL from the new GitHub repository for the url
- Example:
git remote add origin https://github.com/neumont-gamedev/Example.git

Depending on what your remote branch is set to, the follow step will either be “master” or “main”.
- To push the changes to the remote repository (GitHub), use the command
git push -u origin main1
git push -u origin main
