GitHub Pages

Step 1: Create a GitHub Account (if you don’t have one)
- Go to the GitHub website https://github.com.
- Click
"Sign up"and follow the registration process. - Verify your email address when prompted.
Step 2: Create a New Repository
- - Log in to your **GitHub** account - Click the **"+"** icon in the top-right corner

- Select “New repository”

Name your repository - for GitHub Pages, you have two options:
- Use username.github.io (creates a site at https://username.github.io/)
- Use any name (creates a site at https://username.github.io/repository-name/)
For this example, a repository called “my-page” is created to host the webpage.
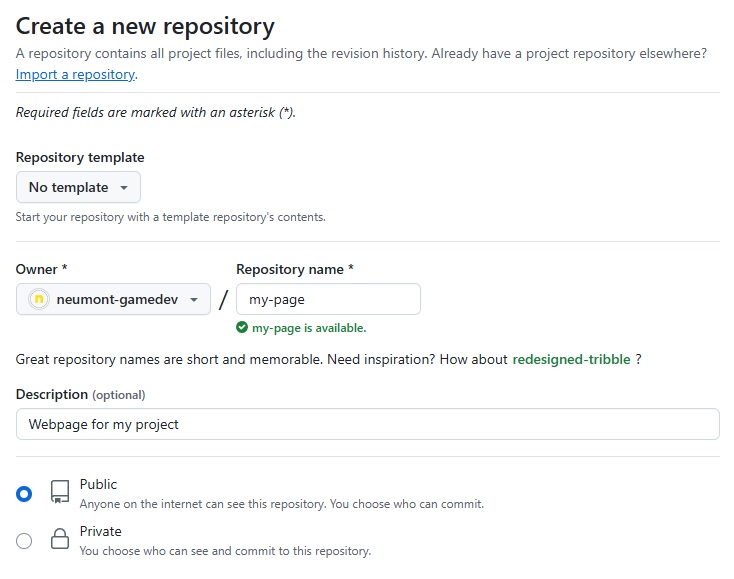
- Make sure the repository is set to “Public”
- Click “Create repository”

Step 4: Clone Your Repository
You have two options when cloning your repository:
- Use the clone command in a command prompt.
- Use the GitHub Desktop application.
Clone - Git Console Command
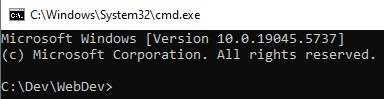
- In Window Explorer navigate to the directory where you want to clone the repository.

- Type in
cmd` in the address bar and press enter. This will open a command prompt in the current directory.

- The GitHub Repository address is needed for the next step. This can be copied from the GitHub repository.

In this example it is: https://github.com/neumont-gamedev/my-page.git
- Type the following:
git clone <github url>

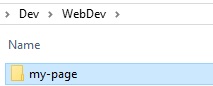
This will clone the repository into a new directory using the GitHub Repository name.

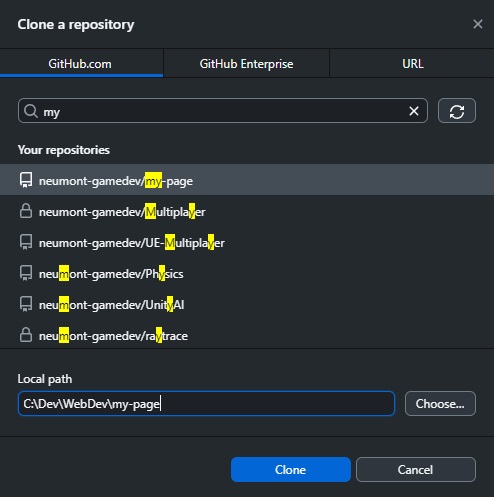
Clone - GitHub Desktop
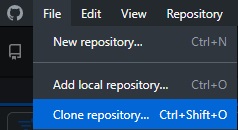
- Open your GitHub Desktop application.

- Select
File>Clone Repository... (Ctrl+Shift+O)
- Find the GitHub Repository by name and select the Local path to clone it to.
- Click Clone.
- The repository will be cloned and can now be updated using GitHub Desktop.
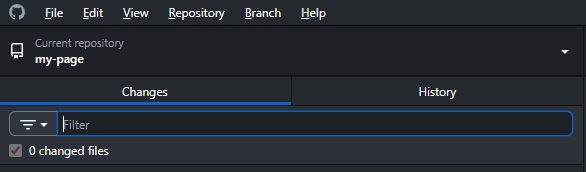
GitHub Desktop will be used to commit and push changes for this example.
Step 3: Create Your HTML Project
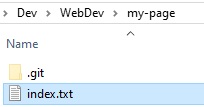
- Create a
.txtfile in the new folder. Name the file"index.txt"
- Open the
index.txtfile and paste the following:
1
2
3
4
5
6
<!DOCTYPE html>
<html>
  <body>
    <h1>Hello World</h1>
  </body>
</html>
- <!DOCTYPE html> — Declares the document type as HTML5.
- <html> — The root element of the page.
- <body> — Contains the visible content.
- <h1> — A heading element that displays "Hello World" on the page.
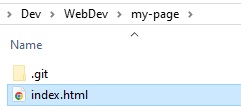
- Save and rename the file to
"index.html"
The index.html file is the default entry point for most websites. It acts as the homepage and typically contains the structure and content users first see.
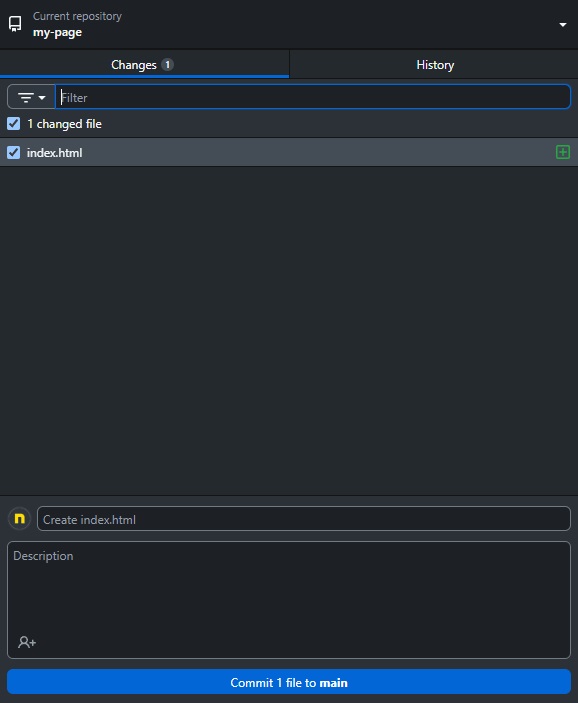
- In GitHub Desktop commit the changes.
- Add a commit message or use the default message.
- Click “Commit”.
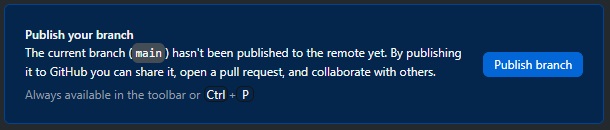
- Publish the repository. Click Publish Branch.
- Navigate to the GitHub repository.
- The URL is
https://github.com/<username>/<repository-name> In this example it is:
https://github.com/neumont-gamedev/my-page- The
index.htmlshould appear in the repository.

Step 4: Set Up GitHub Pages
- Go to your repository’s main page
- Click “Settings” (tab at the top).

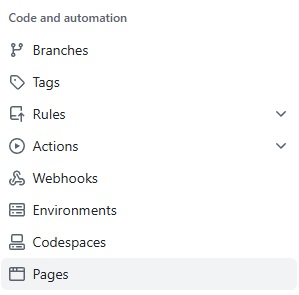
- Scroll down to “Pages” in the left sidebar.
- Under “Source”, select the branch containing your code (usually “main” or “master”).
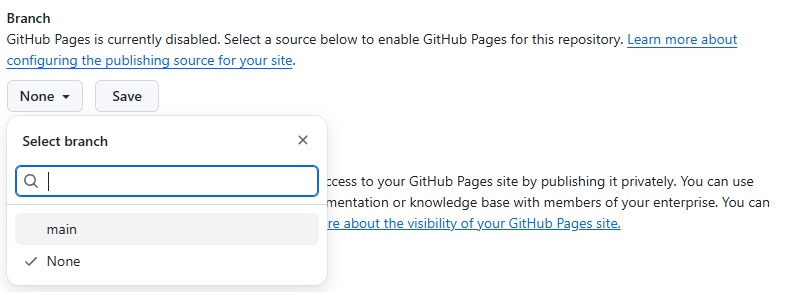
- Select the folder where your files are located (usually “/(root)”)
- Click “Save”

Step 5: Access Your GitHub Page
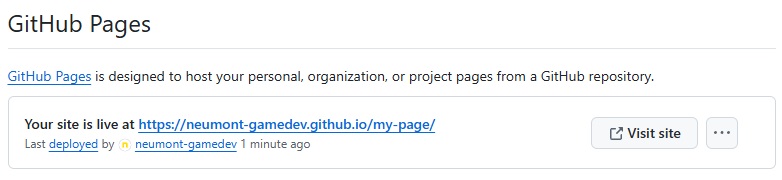
After saving, GitHub will provide a link to your published site. It may take a few minutes for your site to be published.
- - Press F5 to refresh the page.
- - Visit the provided **URL** to see your published **HTML** project
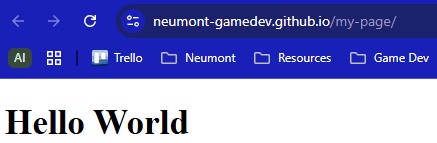
Your HTML project should now be live and accessible via the GitHub Pages URL (https://<username>.github.io/ or https://<username>.github.io/<repository-name>/).
In this example it is: https://neumont-gamedev.github.io/my-page/
Optional: Using a Custom Domain
If you want to use a custom domain instead of the GitHub Pages URL:
- Go to the GitHub Pages settings.
- Enter your custom domain in the “Custom domain” field.
- Update your domain’s DNS settings to point to GitHub Pages.