C++ VS Project Setup
This guide will provide step-by-step instructions on how to create a Visual Studio C++ Solution and multiple Projects. The projects will be split between a game executable and a engine static library.
Update Visual Studio
Make sure you have Visual Studio Enterprise 2022 installed and that it is up to date.
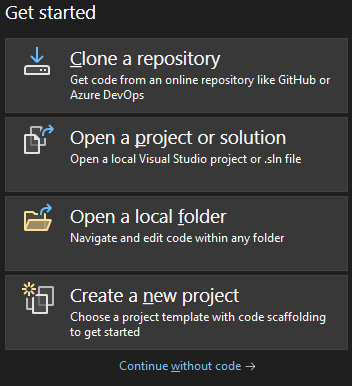
- Open Visual Studio and click Continue without code.
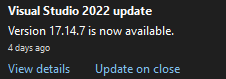
If there are any updates, the bell icon on the bottom right will be red.
- If there is, click the bell icon and perform any updates by clicking Update on close.

Create Visual Studio Solution
- Open Visual Studio and Create a new project.
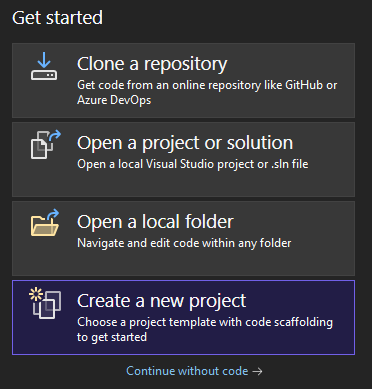
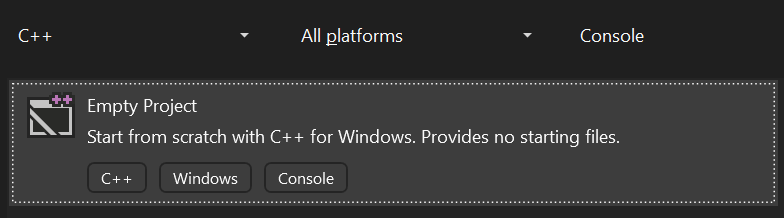
Create an Empty Project.
- To reduce project types listed, filter the projects by setting Language to C++ and Project type to Console.
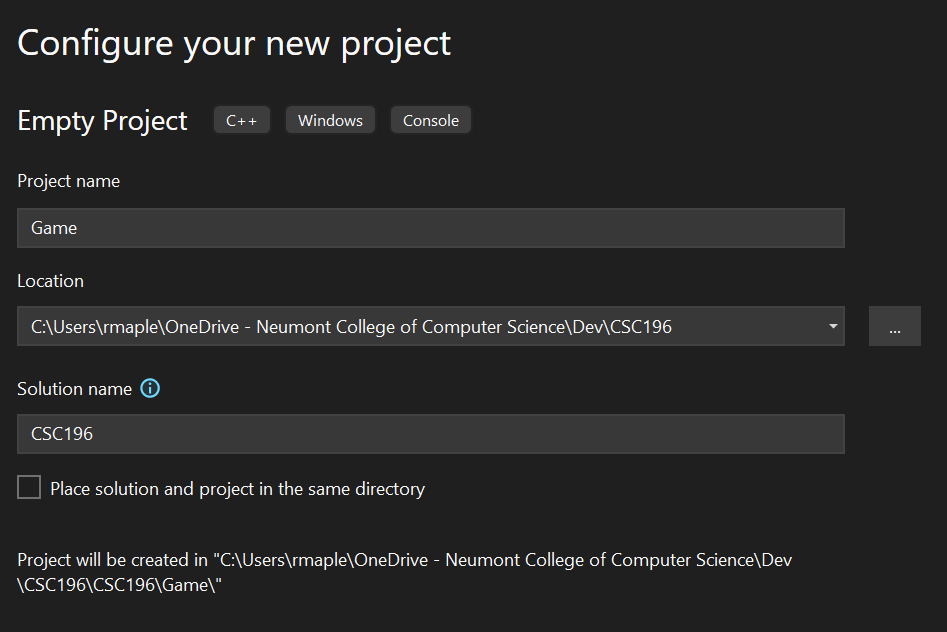
Name your Project and Solution.
In this example, the Solution name is “CSC196”.
In this example, the Project name is “Game”.
Uncheck Place solution and project in the same directory
The Project needs to be in its own folder.
Click Create to create the project.
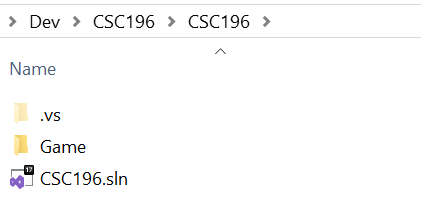
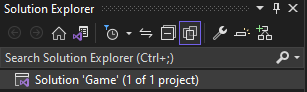
- The Solution and Project will be created at the specified location.
Create Project Directory Structure
The Game Engine project will contain a variety of files and folders to build the game. Keeping the project organized is important as the project will grow in size and complexity.
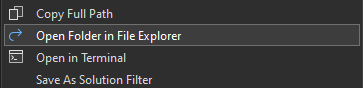
Open the folder in Windows Explorer that the Solution is contained in.
- A shortcut to go to the Solution directory is to right-click on the Solution and select Open Folder in File Explorer.
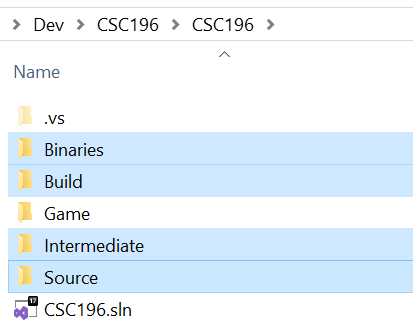
Add the following folders:
Binaries - contains the built .exe and .lib files from the projects.
Build – contains .exe/.dll files and game assets (.wav, images, models).
Intermediate - contains the temporary object files (.obj) from the projects.
Source - contains source code and projects.
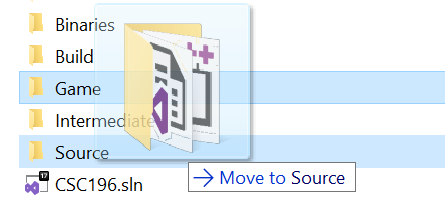
The Game project will be moved into the Source folder.
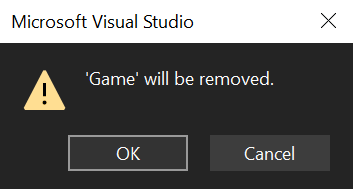
In Visual Studio click on the Game project in the Solution Explorer, press Delete to remove the project.
- Save the project if prompted.
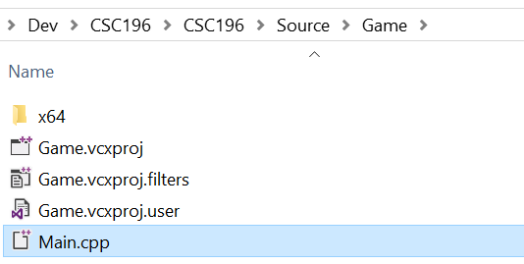
- In Windows Explorer, move the Game folder into the Source folder.
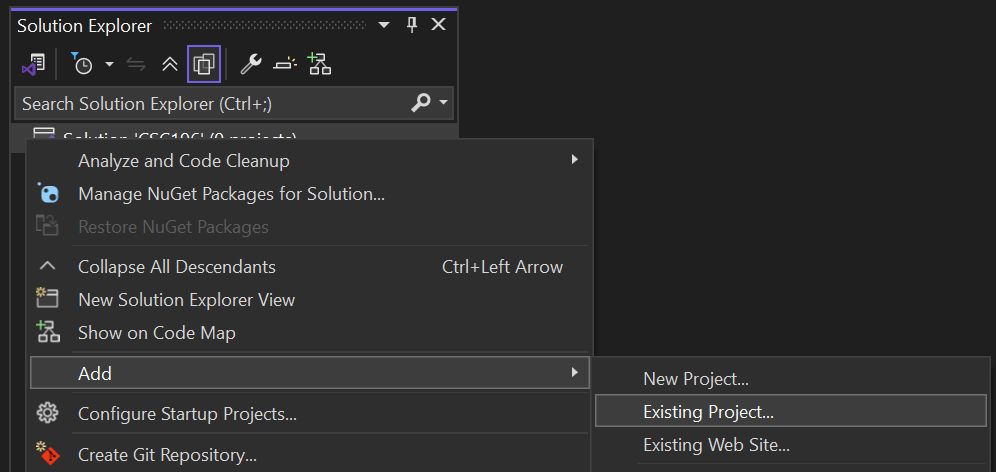
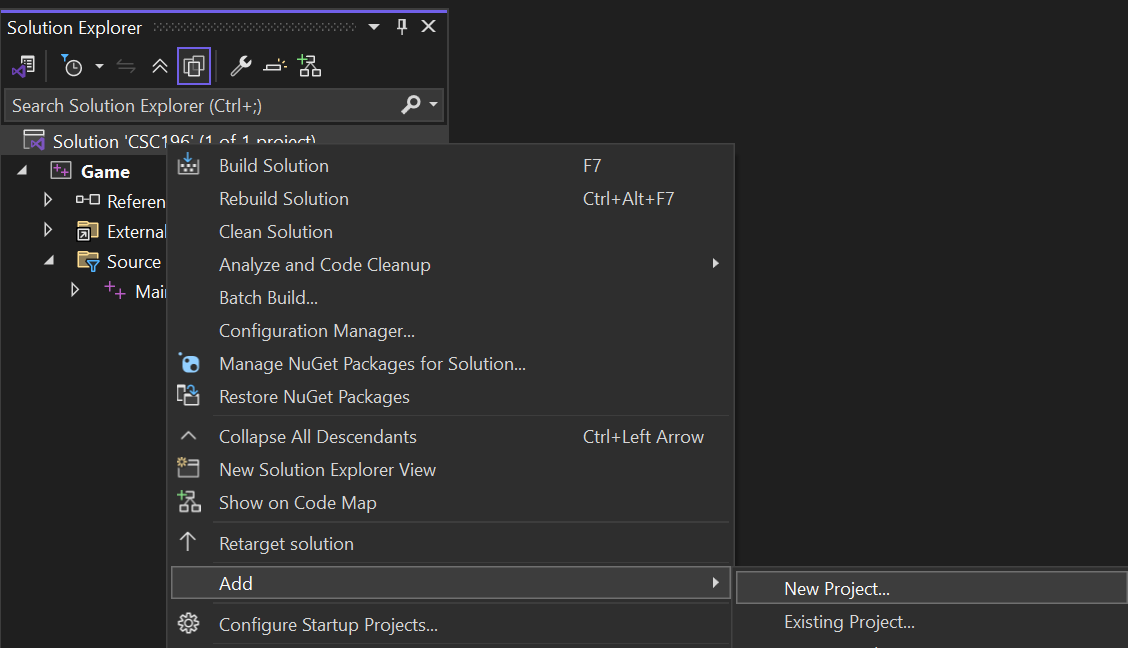
- In Visual Studio, right-click the Solution in the Solution Explorer and select Add>Existing Project…
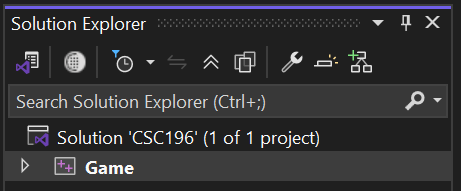
- Find the project file (Game.vcxproj) and click Open.

- The Project will now be included in the Solution.
Update the Game Project
The Game project is a project that will contain the code for the game and creates an executable (.exe) that can be run.
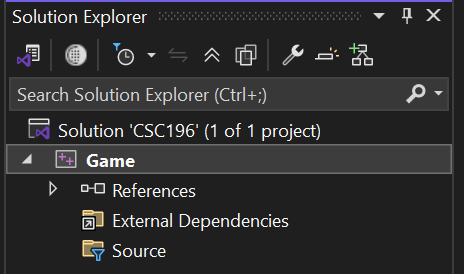
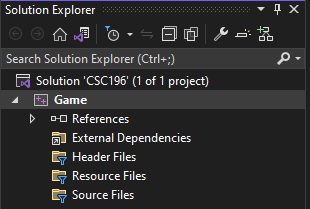
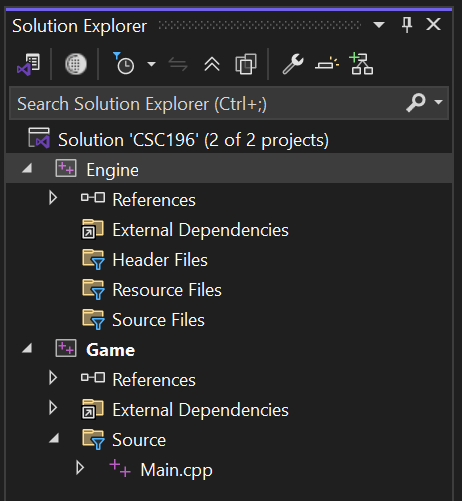
The Solution will contain default Filters (folders) for the Game project.
Remove and Rename the Filters as follows:
Remove Resource Files.
Remove Header Files.
Rename Source Files to “Source”.
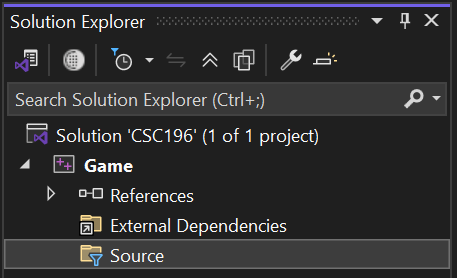
Add a Main.cpp to the Source filter.
- Right click on the Source filter and select Add>New Item…

- Name the file Main.cpp and click Add.

Typically the source file that contains the main() function is called Main.cpp.
The main() function is the entry point for the application, where the program will start.
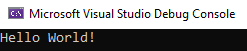
- Add the following code to display the classic “Hello World!”
1
2
3
4
5
#include <iostream>
int main()
{
  std::cout << "Hello, World!\n";
}
- Run (F5) the project to ensure it is working
Add an Engine Static Library
- In Visual Studio, right-click the Solution in the Solution Explorer and select Add>New Project…
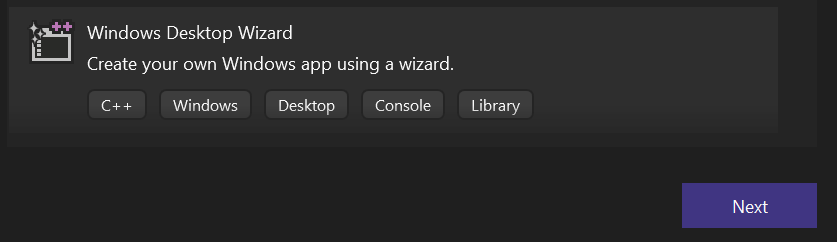
- Find and select the Windows Desktop Wizard, click Next.
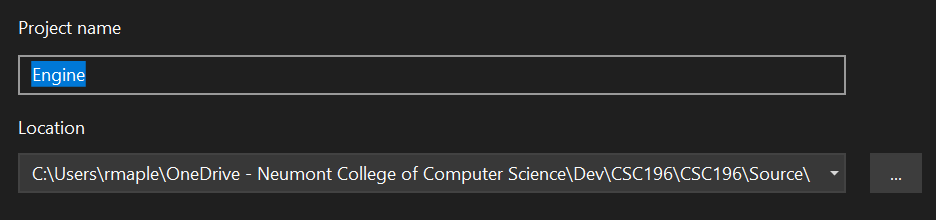
Set the Project name to “Engine”
Click the Location … button to select the location for the project.
- Navigate to the Source folder.
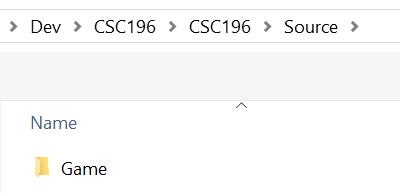
- Click Select Folder.

- Click Create.

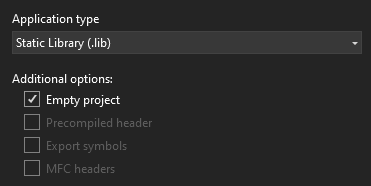
- Set the Application type to Static Library (.lib) and check the Empty Project
- There will now be an Engine Project and Game Project in the Solution.
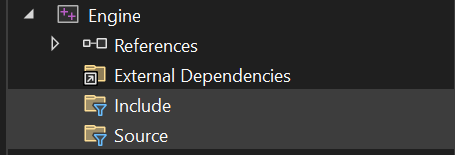
Remove and Rename the Filters as follows:
Remove Resource Files.
Rename Header Files to “Include”.
Rename Source Files to “Source”.
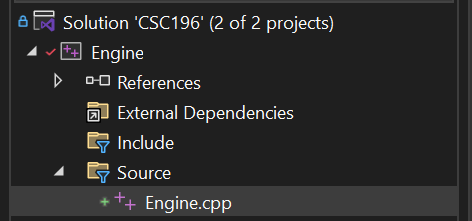
Add an Engine.cpp to the Source filter in the Engine Project.
- Right click on the Source filter and select Add>New Item…
- Name the .cpp file “Engine.cpp”

This will create an Engine.cpp file to the Engine Project.
- No code will be added to this file, it is needed to build the Solution.
Add Reference to Engine
A reference to the Engine library project needs to be add to the Game project. This will allow the Game project to use code generated in the Engine library project.
- Right-click on the Game References in the Game Project and select Add Reference…

- Select Engine and click OK to add the Engine Project library to the Game Project.


Create a Git Repository
Click Add to Source Control located at the bottom right of the Visual Studio IDE.
Select Git.

Your credentials should be set if you have used Git with Visual Studio before.
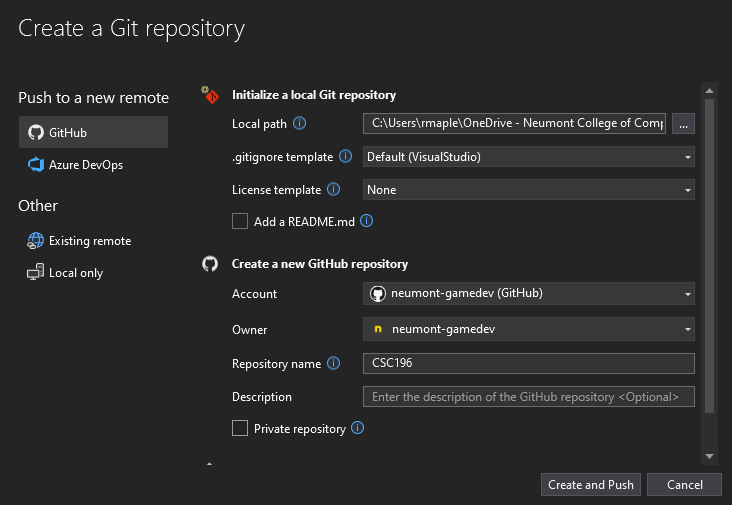
The Repository name can be left with the default Solution name CSC196 or can be changed.
Uncheck the Private repository so it can be accessed, it is important to do this step for grading.
Click Create and Push to create the repository and push the current project onto GitHub.
Navigate to your GitHub repository page to ensure it has been created.
- It may take a couple of minutes to appear when created.

Save changes to GitHub
Changes to the Solution can be committed to GitHub from inside Visual Studio.
Save the changes to the project to the remote repository (GitHub).
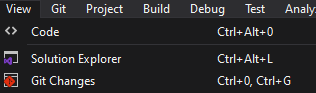
- Select the Git Changes tab at the bottom of the Solution Explorer.

- If the Git Changes tab isn’t visible, open it with View>Git Changes (Ctrl+0, Ctrl+G).
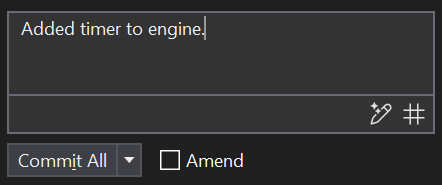
Enter a message (description of what was done) for the commit.
Click Commit All.
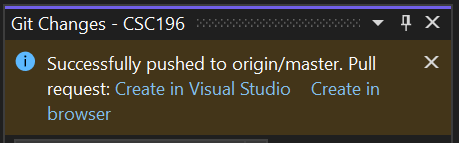
- Press the Push button to push the changes to the remote repository (GitHub)
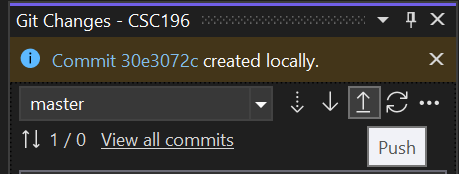
- A status message will be displayed