C++ Raylib Install
Install Raylib
There are two method to get the raylib code and project. Choose either one.
Method 1 - Download
Install raylib quick start from https://github.com/raylib-extras/raylib-quickstart.
Click the dropdown menu and select Download ZIP.
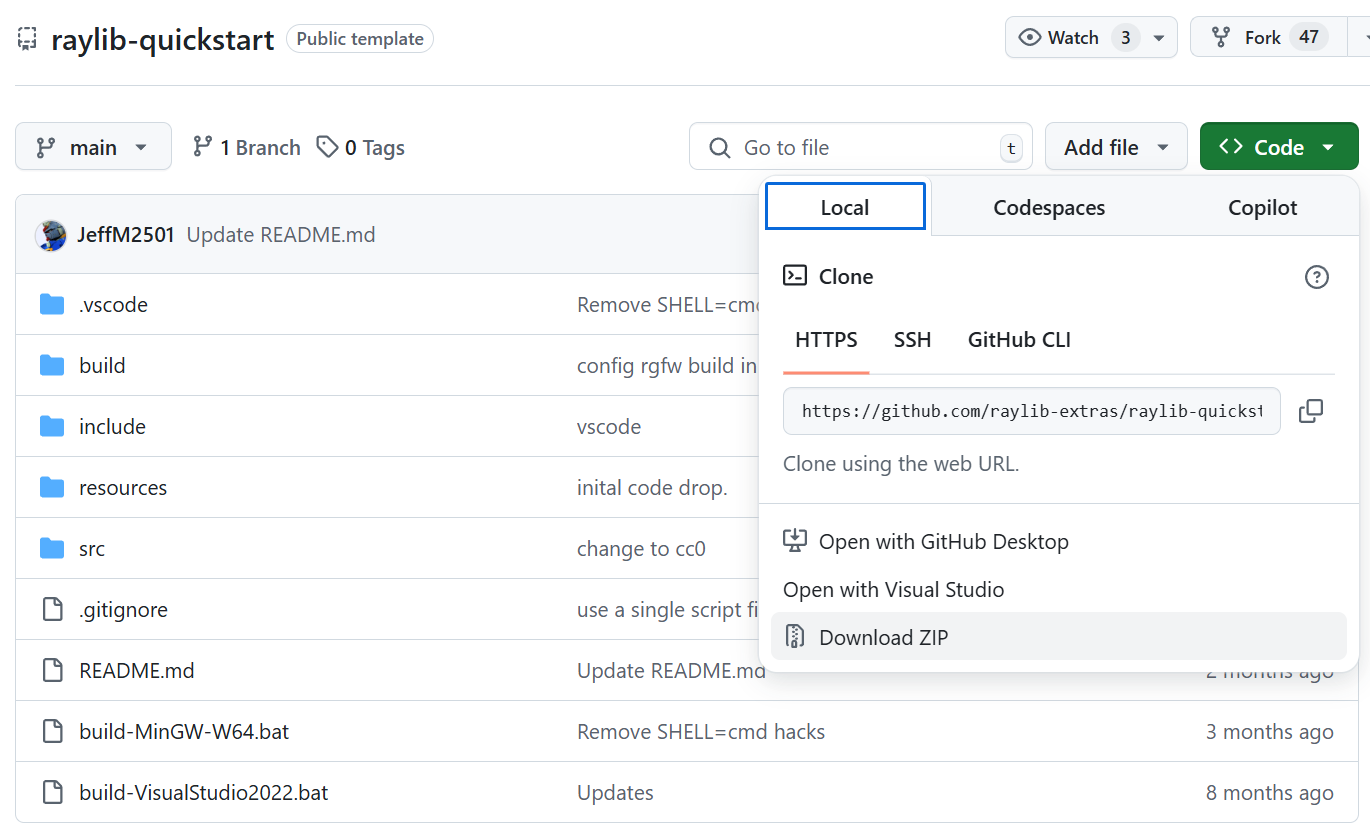
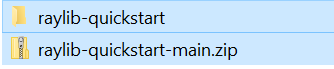
- Place the .zip file in the desired location and unzip the file.
Method 2 – Clone Repository
Alternately, a clone can be made of the repository.
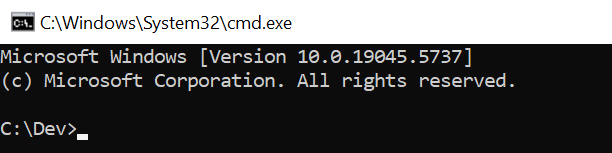
Navigate to the directory to install the project in Windows Explorer.

Type “cmd” in the Windows Explorer address bar and press Enter.
- This will open a command prompt in that directory.

- Copy the GitHub repository URL link from the dropdown menu.
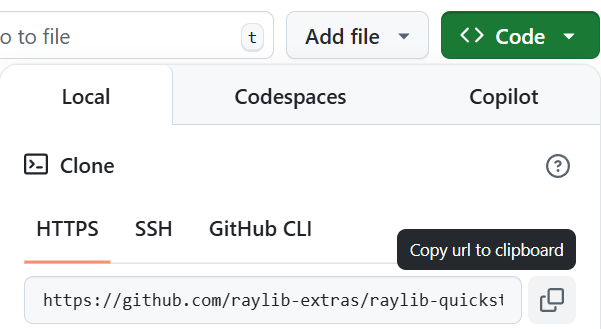
https://github.com/raylib-extras/raylib-quickstart.git
- In the command prompt, type “git clone “ and paste the URL.
example: git clone https://github.com/raylib-extras/raylib-quickstart.git

- This will clone (copy) the raylib quick start files to the computer.
Create the Raylib Solution
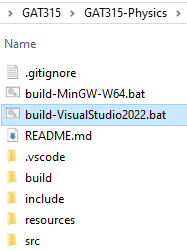
- Raylib will create a Solution and Project based on the folder name it is contained in, rename the folder to the desired Solution and Project name.


- In the newly named folder, double-click the “build-VisualStudio2022.bat” to create the Visual Studio Solution.
- The Solution file is now created for Visual Studio.
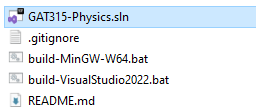
Double-click the Solution (.sln) file to open the Solution in Visual Studio.
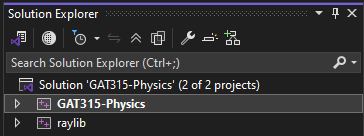
The Solution with the new Project will appear.
- The new Project is where all the new code will located. The raylib project is a Static Library and contains raylib engine code.
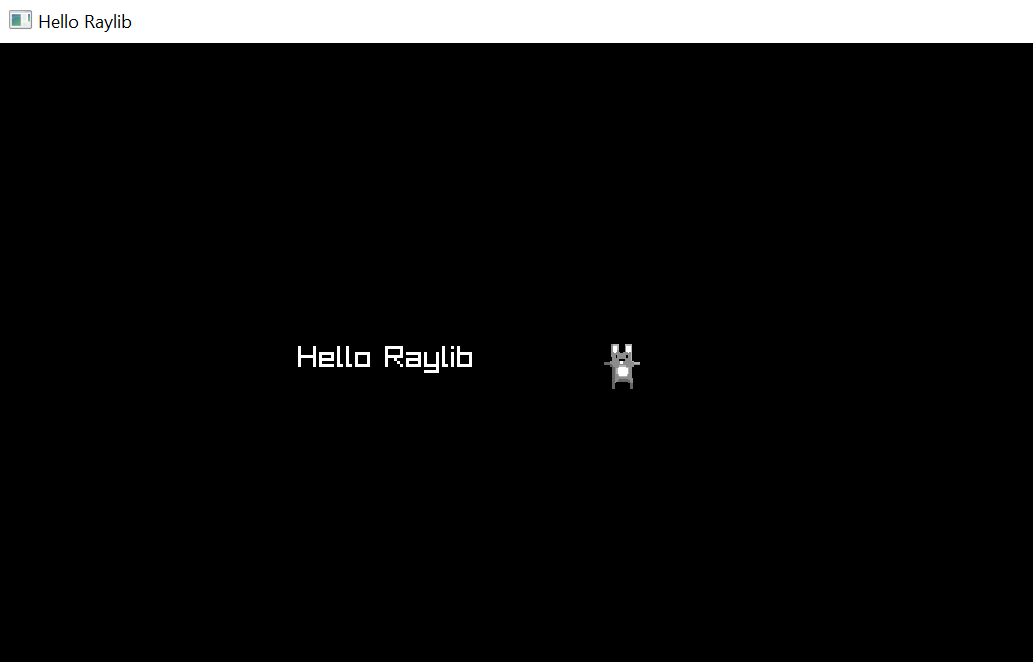
- Click the run button (F5) and a window will appear with text and an image.
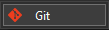
Add to Source Control
- Click the Add to Source Control at the bottom right of Visual Studio.

- Select Git.
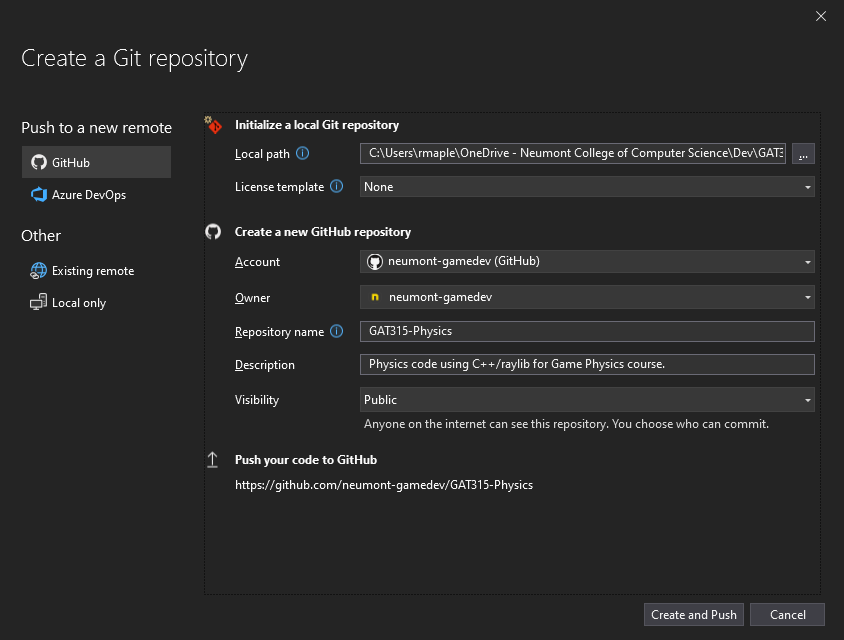
Set the parameters for the project and ensure the Visibility is set to Public.
- Most, if not all, the parameters should be automatically set.
Click Create and Push.
- Use Git Changes to commit and push code changes when necessary.

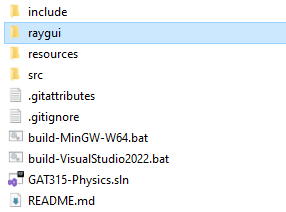
Install raygui
raygui is a simple and easy-to-use immediate-mode-gui library. This will allow the creation and usage of GUI elements in our project.
There are two method to get the raygui code and project. Choose either one.
Method 1 - Download
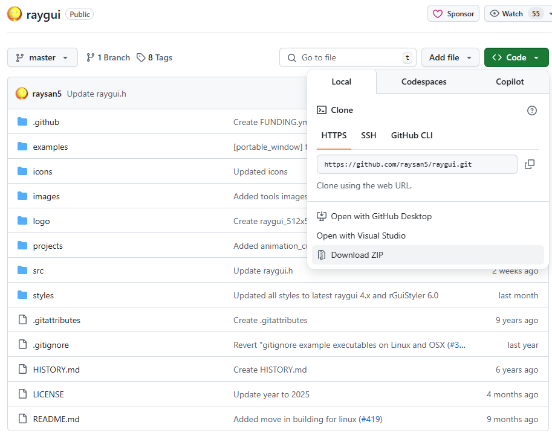
Install raygui from https://github.com/raysan5/raygui.
Click the dropdown menu and select Download ZIP.
- Place the raygui-master.zip file in the project folder and unzip the file.
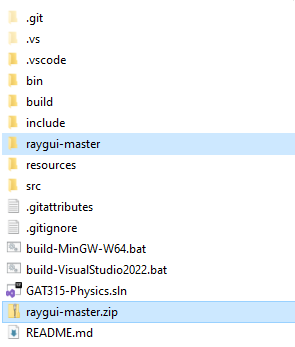
- Delete the raygui-master.zip and rename the raygui-master folder to raygui.

Method 2 – Clone Repository
Alternately, a clone can be made of the repository.
Navigate to the project directory to install the project in Windows Explorer.

Type “cmd” in the Windows Explorer address bar and press Enter.
- This will open a command prompt in that directory.

- Copy the GitHub repository URL link from the dropdown menu.
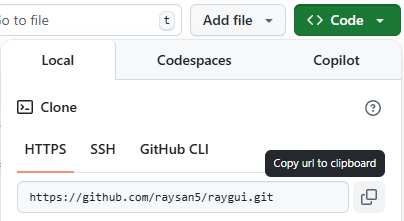
https://github.com/raysan5/raygui.git
- In the command prompt, type “git clone “ and paste the URL.
example: git clone https://github.com/raysan5/raygui.git
- This will clone (copy) the rayqui files to the directory.